Turn vocabulary review into a creative video project. Have each student (or group) select a key term from your current unit and create a short explainer video in Google Vids. They can define the term, show it in action with AI-generated visuals, and narrate a real-world example. Combine all the clips into a “class glossary” video that can be rewatched before quizzes or shared with future classes.
Sit with a bunch of teenagers, or many adults, when they're trying to kill time.
You'll see them scrolling through social media as if it were a timed race to find the most interesting content. If it's not entertaining then it gets passed up.
This is the attention span that educators face daily.
So does that mean we have to turn every lesson into an 8 second scroll stopping video?
Of course not. But wouldn't it be great to have a tool that could help us create engaging video content that can hook our learners in? Something easy to use and maybe even perhaps built right into the tools you already use?
Well if you’ve been looking for a video creation tool that you won't have to spend your entire summer learning to use then you’re in luck.
Google Vids, Google’s new AI-driven video tool, lets educators design professional-quality videos in minutes—no editing experience required. Plus it's part of Google Workspace for Education so it works with your Google Apps making it familiar and easier to use.
What is Google Vids?
Vids is an AI-powered video creation app that's part of Google Workspace. It blends the AI power of Gemini with the easy and familiar Google Slides style format to give you a simple video editing tool that can bring static images, text and presentations to life. You can create custom videos up to 10 minutes long, and because it's part of the Google Workspace, it integrates seamlessly with your existing and files in Google Drive. Note: Google Vids is available to Google Workspace for Education customers.
Where can I find Vids?
There are multiple ways to access Google Vids. The easiest way to start creating is to type Vids.new into your browser, this will open up the getting started screen.
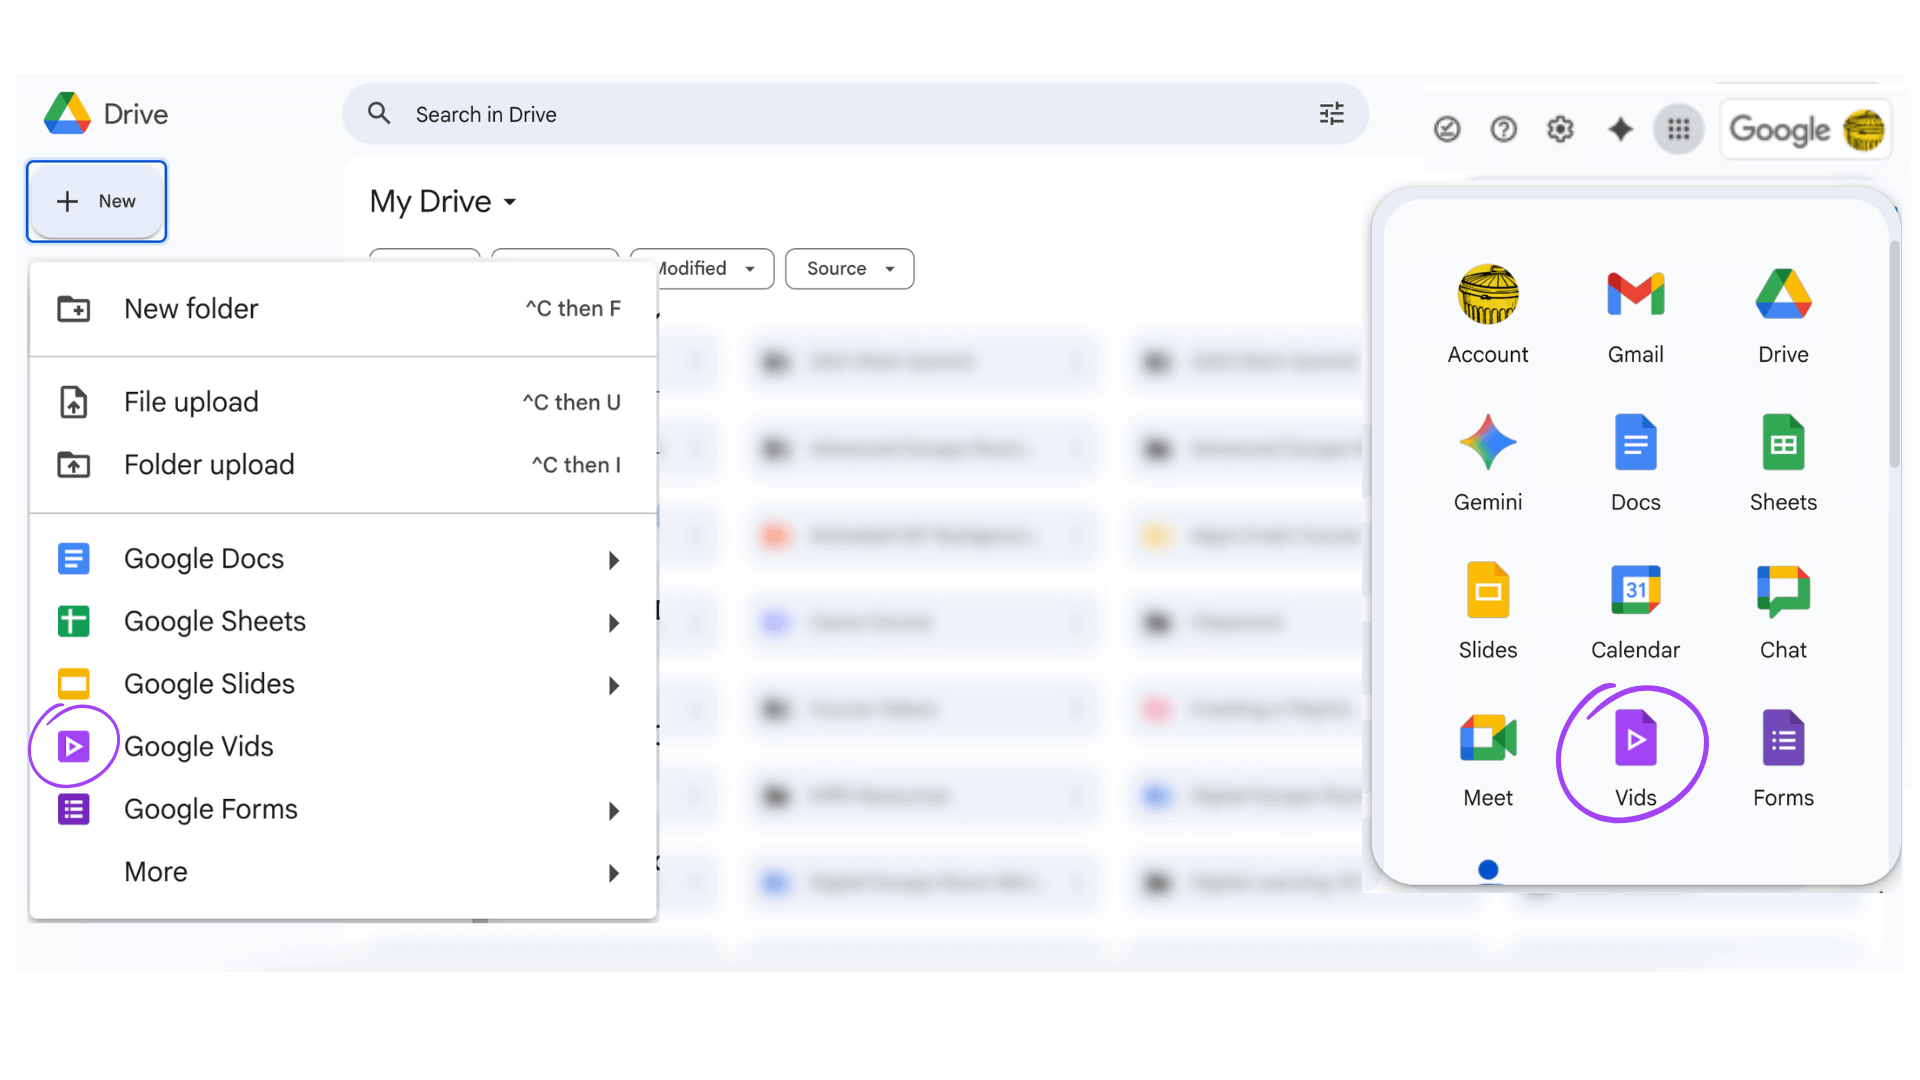
You can access Vids from your Google Drive by clicking New then Google Vids or from the Google Apps launcher in the upper right hand corner of any Google Workspace main menu by clicking on the 9 dots.
Getting started with Vids
Creating a video is pretty easy and you have a few ways to get started. Note: You'll see this menu with a few other options when you first create a new Vid.
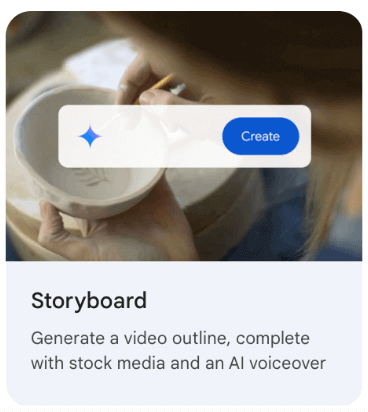
Watch the tutorial: Plan your video story using AI in Google Vids
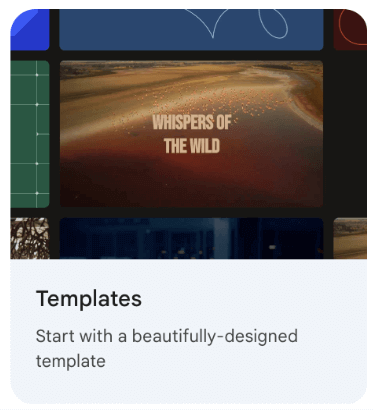
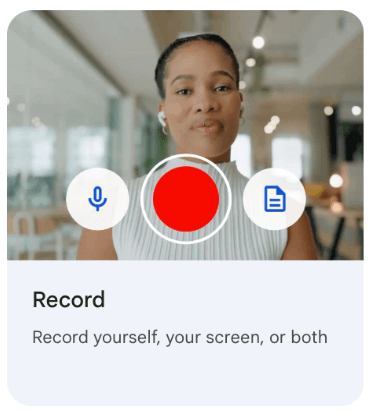
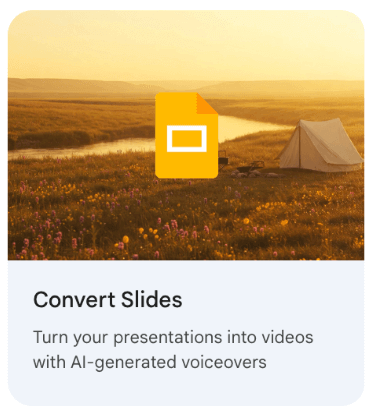
Turn slides into a video: This is one of my favorites! Have a great Google Slides presentation? You can transform it into a video, where each slide becomes a scene. Try it!
Learn more:
Use Google Slides with Google Vids
Making your first video
Creating a video with Vids is designed to be user-friendly and familiar to those that already use Google apps. It seem especially similar to Google Slides. After you have a draft of a video, you can easily customize and enhance it by adding stock media, text, transitions, and even AI-generated videos, avatars and voiceovers.
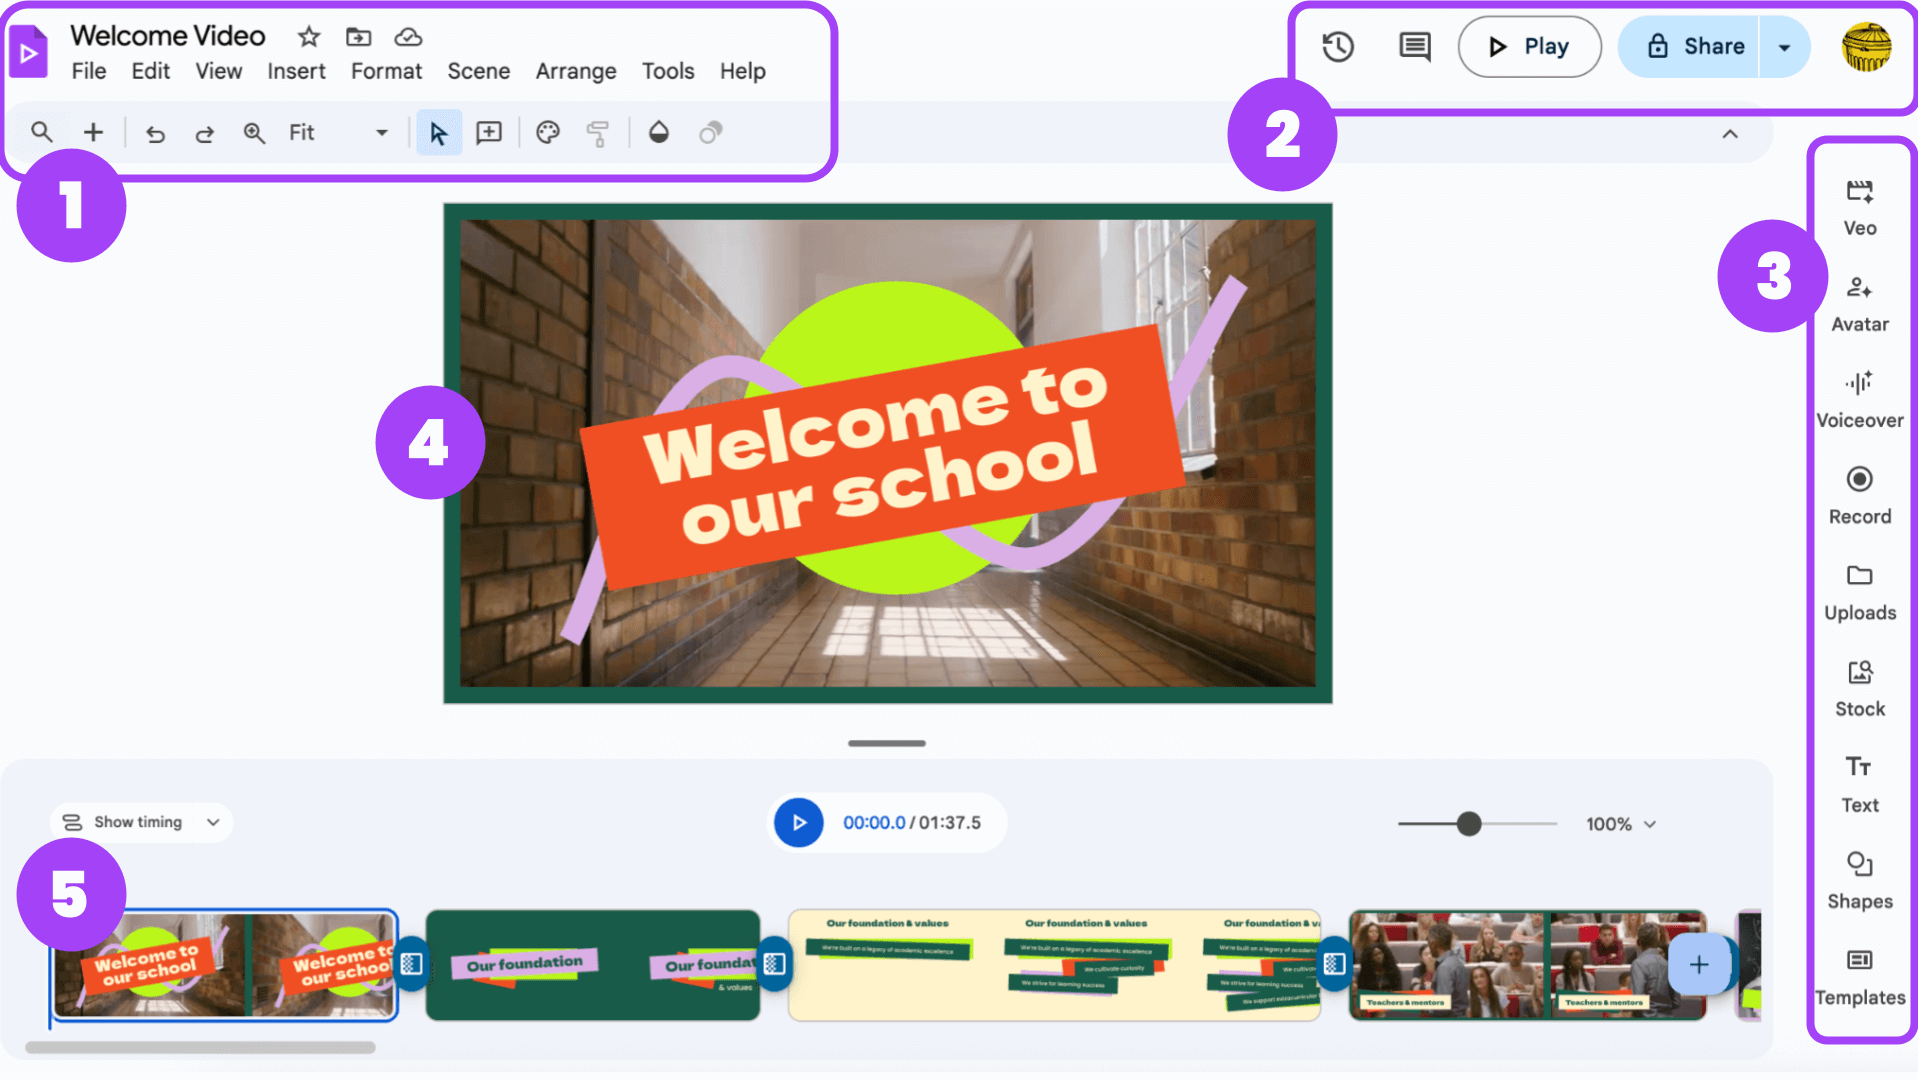
1. Main Toolbar: This is the central command center, similar to what you'd see in Google Docs or Slides. It includes standard menu options like File, Edit, View, Insert, Format, Arrange, Tools, and Help. You can use these to manage your video file, add new elements, and access various settings. The "Scene" option is new and unique to Vids, allowing you to manage the different parts of your video.
2. Playback and Sharing Bar: This bar at the top right is for managing and sharing your final video. The Play button allows you to preview your video. The Share button gives you familiar Google sharing options, letting you grant specific permissions (Viewer, Commenter, or Editor) to colleagues or students. The export and settings options also live here, which is where you would export your completed video as an MP4 file to save it to your Google Drive.
3. Right-Side Panel: This is where you'll find all the creative tools. You can use this panel to:
- Generate videos with Veo
- Add Avatars and Voiceovers to narrate your scenes.
- Record your screen, webcam, or just audio.
- Upload your own videos, images, and audio.
- Access a library of Stock images, videos, music, and sound effects.
- Insert and customize Text, Shapes, and use Templates to get started quickly.
4. Video Preview Area: This is the main "canvas" or workspace where you will see and edit your video scenes. It's the visual heart of the platform, where you can arrange text, images, and video clips. It gives you a real-time preview of your work as you create it, so you can see exactly what your students or colleagues will see in the final product.
5. Timeline: Located at the bottom of the screen, the timeline is where you organize and sequence the different scenes of your video. It functions much like a storyboard in that you can see all your scenes laid out and easily drag-and-drop them to rearrange the order. You can also adjust the timing and duration of individual elements, like text or images, within each scene.
10 ideas for using Google Vids in the classroom
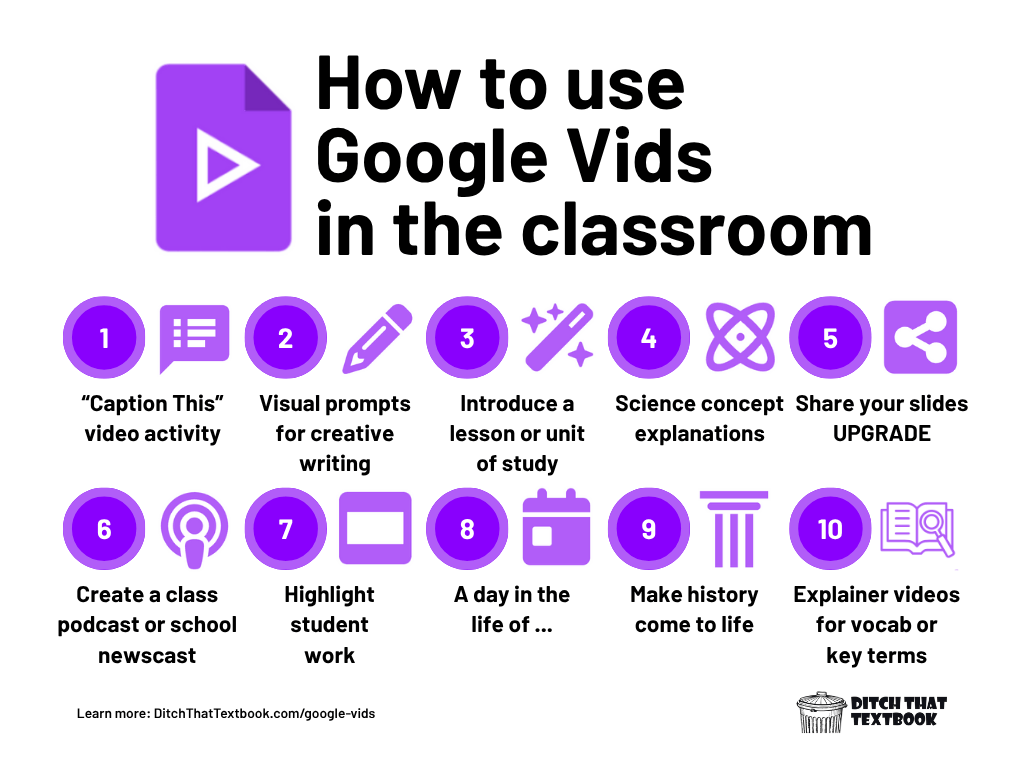
"Caption This" video activity
This is a perfect bell-ringer or warm-up. Generate a single, 8-second Veo video showing a character in a puzzling or humorous situation. Then, have students write the dialogue or a caption describing what's happening. It’s a fast, fun way to ignite creativity.
Learn more about Caption This: Caption This! A fun, deep-thinking Google Drawings activity
Visual prompts for creative writing
Instead of using a static image, generate a short video clip with a mysterious or fantastical scene. For example, a video of a robot walking through an enchanted forest. Use this as a prompt to inspire students to write a short story, a poem, or a narrative from the perspective of a character in the scene.
Introduce a lesson or unit of study
Create a quick, engaging hook for a new topic. Take a brief summary of the next unit and generate an 8-second AI-powered video. Play the clip for your class and have them guess what they will be learning about. This creates anticipation and gets them thinking critically before the lesson even starts.
Science Concept Explanations
Enhance a traditional slideshow by adding a video element. Have students create a slideshow demonstrating a scientific concept or a labeled system (e.g., the human heart). They can then use a recorded voiceover to explain the process, with each slide or scene corresponding to a different step.
Share your slides UPGRADE
If you have a slide deck for a lesson, a parent presentation, or a professional development session, transform it into an engaging video. Google Vids can import your slides and turn them into scenes, highlighting your key points with a professional-looking video. This makes the information more accessible and dynamic than a simple PDF.
Create a class podcast or school newscast
Empower students to become content creators. Use a pre-built Vids templates to create a recurring series like a "Week in Review" or a "School News" segment. Students can be responsible for different scenes, such as interviews, event announcements, or sports recaps.
Highlight student work
Showcase student creations and make them more dynamic. Take a simple shared Google Slides presentation and turn it into an engaging video highlighting the different slides. Students can then add their own recordings, explaining their creation and providing personal insight into their work.
Learn more about collaborative Google Slides activities: Student collaboration in shared Google Slides
A day in the life of...
Use a one of the Day in the Life templates in Vids to create a narrative video. Students can document "a day in the life of a water molecule" or "a day in the life of a civil rights activist." This encourages research and creative storytelling, helping students put themselves in a new perspective.
Make history come to life
Instead of a traditional report, have students use Google Vids to create a compelling video about a historical event. They can use the AI video generation feature to visualize the event and add a voiceover, text, and images to tell the full story. This transforms a research assignment into a dynamic, engaging project.


